
The Perfect Fake Blood Recipe
There’s a huge debate amongst theatrical and special effects makeup artists as to which faux blood recipe is superior. Even Scientific American has inserted itself in a lightly scientific approach to developing color, viscosity, and flow.
There are dozens of blood recipes out there in the web world, some more believable than others, but mostly just… not. Most involve some amounts of corn syrup or chocolate syrup and red food coloring, and are entirely edible. Then there’s the famous “Dick Smith Blood“, which is poisonous, as it contains Kodak Photo-Flo. Let’s not go there.
I’ve been a theatrical makeup hobbyist for the last 27-ish years, and never really tried making my own blood until just a year ago. It took me that long to wake up to the fact that the costume shop fake blood is FREAKIN EXPENSIVE. And it doesn’t look that good anyway.
Last year I started developing an online course on casualty and zombie makeup (which I’ve yet to finish), and needed a reasonable amount of blood for my lessons, but the popular corn syrup + red food color thing wasn’t working for me. I needed it to look realistic. I tried several recipes I found online, and they were all lacking one believable element or another. I found most to be too transparent and too pink, or too purple. When I bleed, it’s just red. And it’s not syrupy or transparent. It’s thick, but thin enough to drip. And when it runs down a vertical surface it leaves a red trail, not tiny beads of sticky goo. Also, none that I tried were storable long-term. They all developed mold after a few weeks/months, being largely made of food.
This one at Steve Spangler Science is spot on regarding color, and I’ve tried the recipe, but find it to be too grainy due to the addition of cocoa powder. And, I assume, as above, it may develop mold after a few weeks.
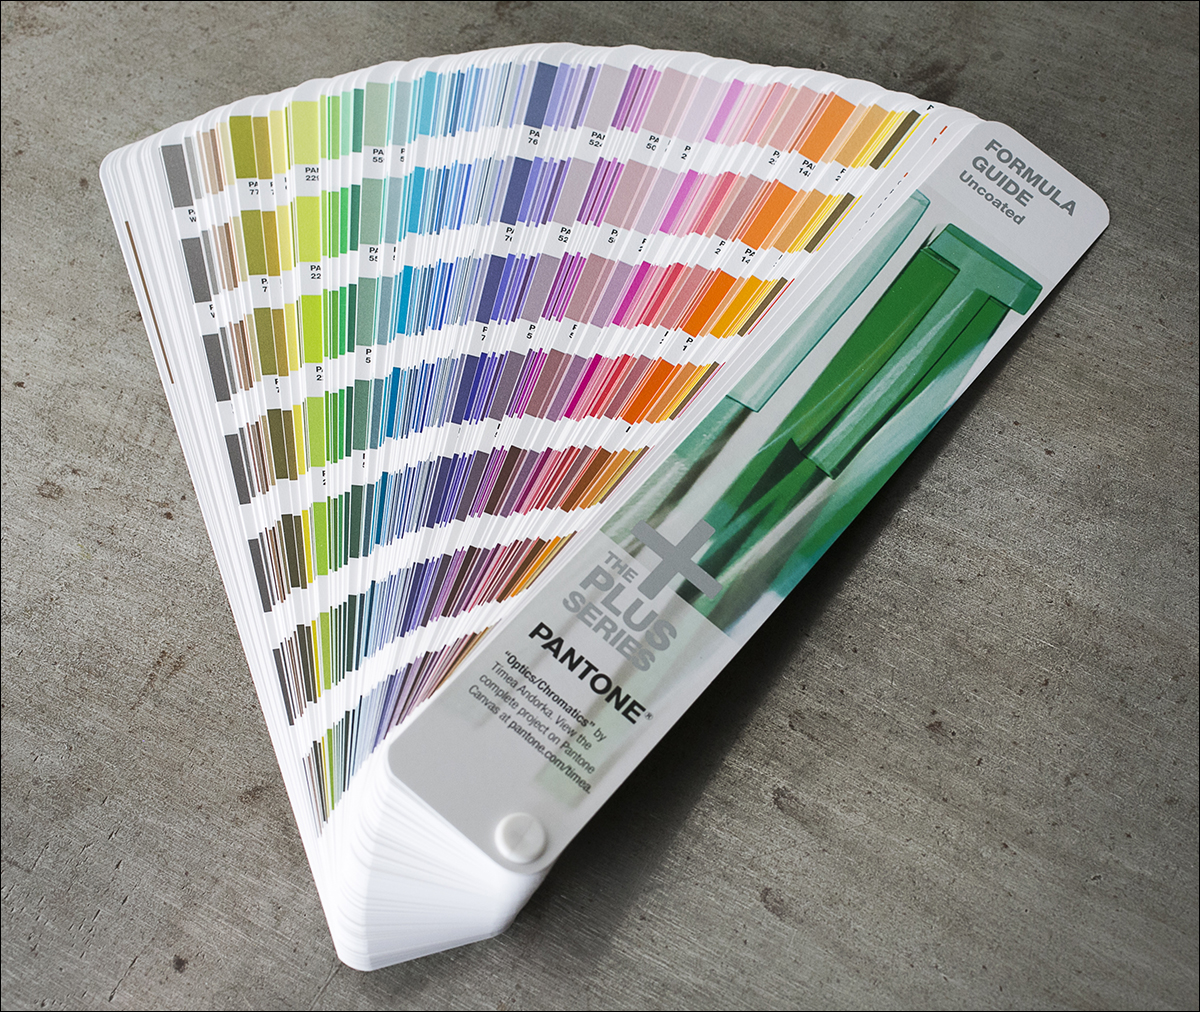
I bleed a color somewhere in between Pantone 186c and 200c. Yes, I checked. I poked myself with a sterilized pin and compared my own blood with the Pantone formula guide (my husband is a graphic artist, so this was just laying around and was really convenient).
Let’s put the corn syrup aside. I won’t go into every recipe I tried or developed. I’ll just give you the one I really love. It’s non-toxic, so you can ingest a bit of it if really necessary, but I don’t recommend it, as it is not meant to be edible.
You’ll need three common ingredients:
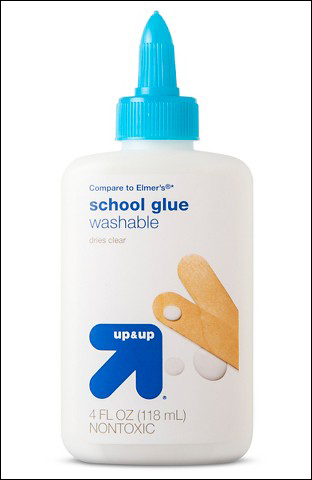
- 1/4 cup white school glue (no specific brand… just get it from the dollar store)
- 1 teaspoon black strap molasses (any brand)
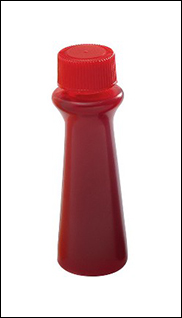
- red food color (I used Watkins, you can use anything)

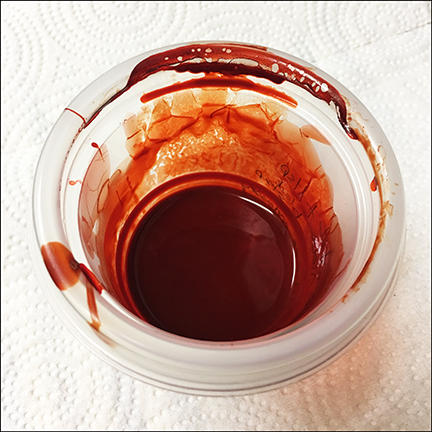
Simply mix these all up in a disposable, lidded container. That is all.
It’s fairly thick. If you want it to be thicker, leave the lid off to dry the glue a bit, stirring occasionally to avoid forming a film on top. If you want it to be thinner for, say, blood splatter, just add small amounts of water until you reach your desired consistency.
So far my batch has stored for several months, has kept its consistency and color, and has yet to develop mold.
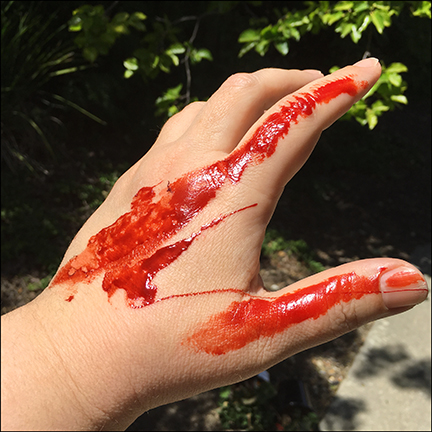
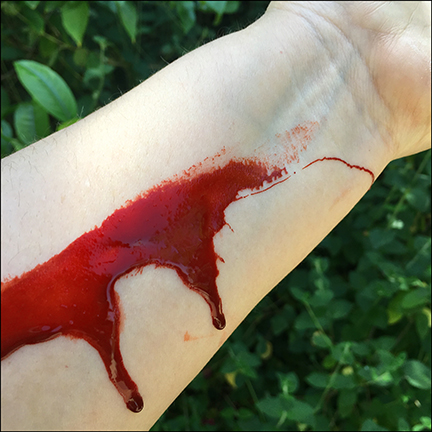
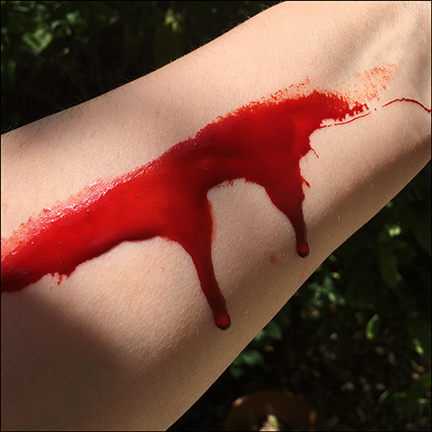
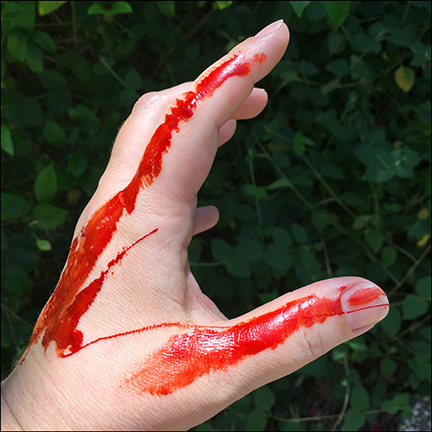
Here it is on my arm and hand, in the sun and in the shade. I’ll add photos of what it looks like on cloth later.

Don’t accidentally smear this on the side of your house and forget about it. It ends up scaring the neighbors and/or gardeners.
Cleanup is a breeze (that is a lie). Being glue-based, it dries. On the plus side, it stays put. If you kept it thick, you may be able to peel most of it off when dry, but I just scrub it off with some warm water and dish soap. Expect some light staining to your skin, which will dissipate after a couple of hand washings, and definitely on clothing.
If you try my recipe, I’d like to see how you use it. Please share in a comment 🙂